
I’ve been working on a near copy of a bed from the collection at Hancock Shaker Village the past couple of weeks. They have many beds in the collection, this one is my favorite. This example originated at Hancock, made sometime in the early 19th century and is still sporting it’s original green paint.
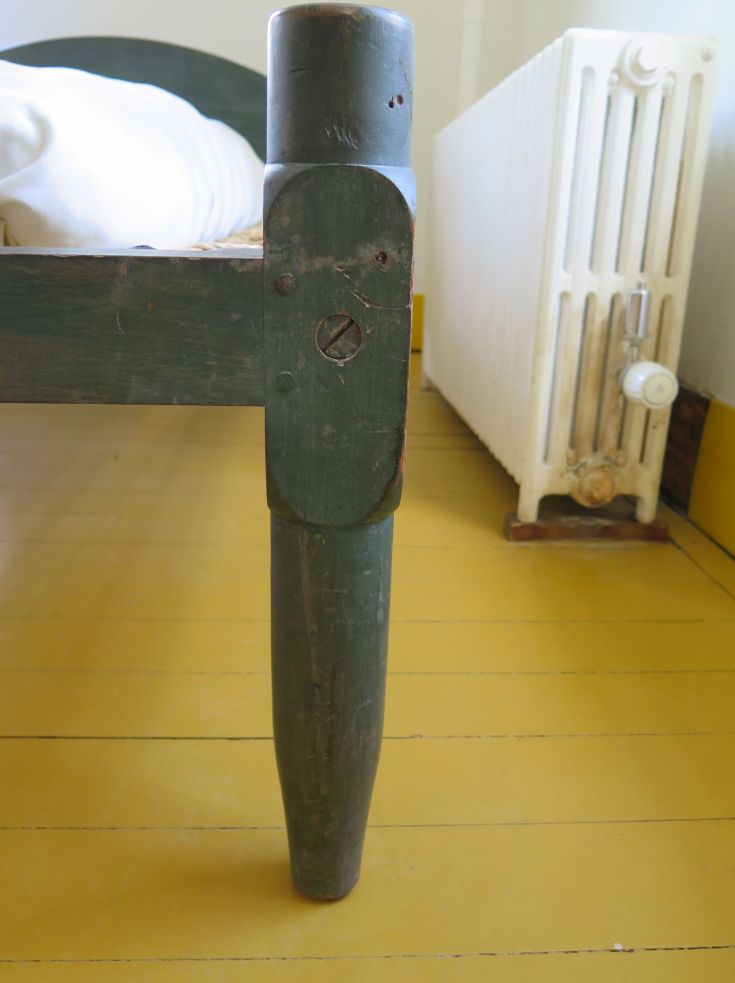
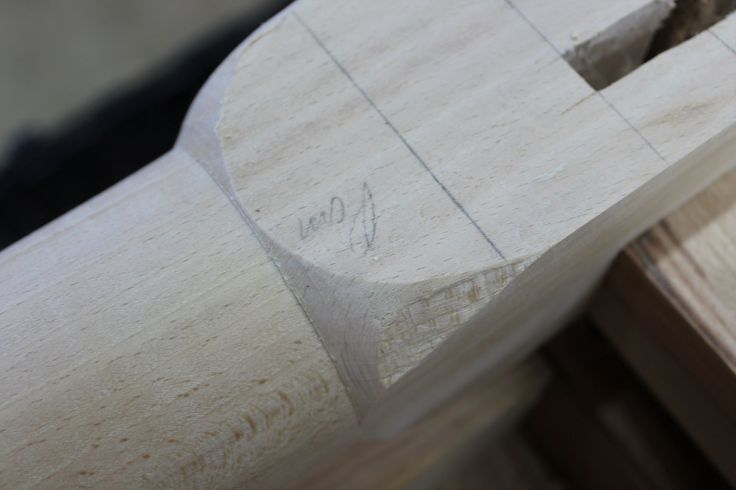
When I measured and photographed it I noticed the pommels on the turned legs but did not give much thought to the detail. Pommels (also known as “Pummels” in some references) are the transition from square to round in turnings. I had turned these before but always at a much steeper angle, using a skew chisel. What I did not realize and had not given any thought to was the pommels on this bed were a semi-circle. The fact being I ain’t much of a turner, I did do a test turning (thankfully) on some scrap before starting on the legs of the bed. The skew would just chunk the outer portion of the radius, total mess. Tried a gouge, just as bad as the skew. The legs being 2 7/8″ square, when rotating, caused the tool to jump slightly between the corners of the stock creating mayhem at the outer part of the pommel. After continuing to try different methods I managed to make it happen, below is what finally worked.


-Will Myers

very cool!! thanks for sharing
LikeLike
and you’re also going to explain how to make the bed hardware, too, I hope.
LikeLike
Great timing. I’ve got a pile of cherry waiting to be turned into a queen version of this bed. I’ve used a bungee lathe to turn small spindles but plan to do the bulk of the work with a spokeshave and chisel, so your idea of marking out the pommel might save me some aggravation.
Why did you settle on the double tenon over a single? The pinned joints are single tenons, right?
LikeLike
The original bed had the double tenon arrangement on the long rails and the short ones, the short rails are pegged. I am building mine to accommodate a mattress, so my short rails are a bit thinner with a single tenon, the long ones are same as the original. I do not have a good theory as to why they did the double tenon on the original. The only thought I have had is so the bolt holding the long rails would be in the center and not penetrate the tenon. I liked the detail and used it on mine.
LikeLike
I guess it make sense in that the mortise and the bolt being lined up might possibly split the post. I’m now kind of wishing I’d purchased 8/4 cherry instead of 6/4 for my sides – maybe I’ll rip and laminate them. My plan is still percolating and the wider rails I had in mind were making that square part in the middle look really long and blocky. Thanks for sharing this info.
LikeLike
keep up the fantastic work, I read few articles on this web site and I conceive that your website is really interesting and has lots of wonderful info .
LikeLike