I have recently been working on a candle stand design that involves making a hexagonal post that I wrote about here a couple of days ago. Hexagons show up in furniture occasionally, honeybees are completely enamored with them, pencils, and chair parts sometimes.
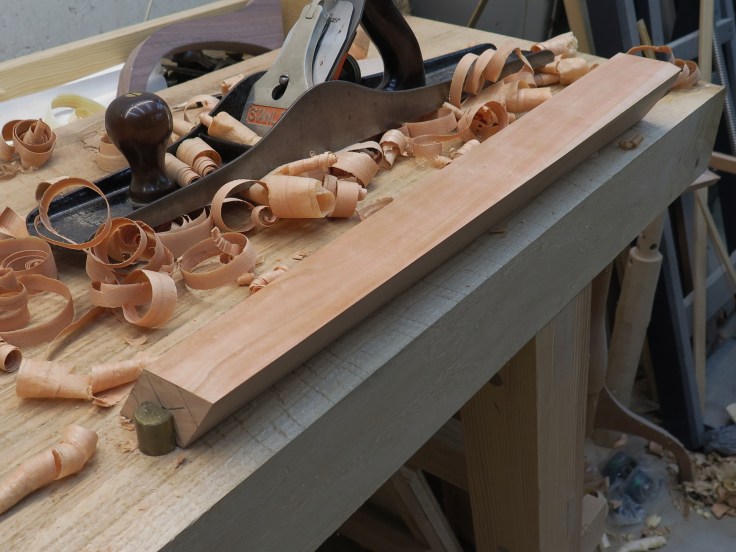
They can be made with just hand planes alone, no jigs required. Here is the process I have been using that works quiet well. The post I am working on here is a tapered hexagon post 22″ long, it took about 30-40 minuets to complete.
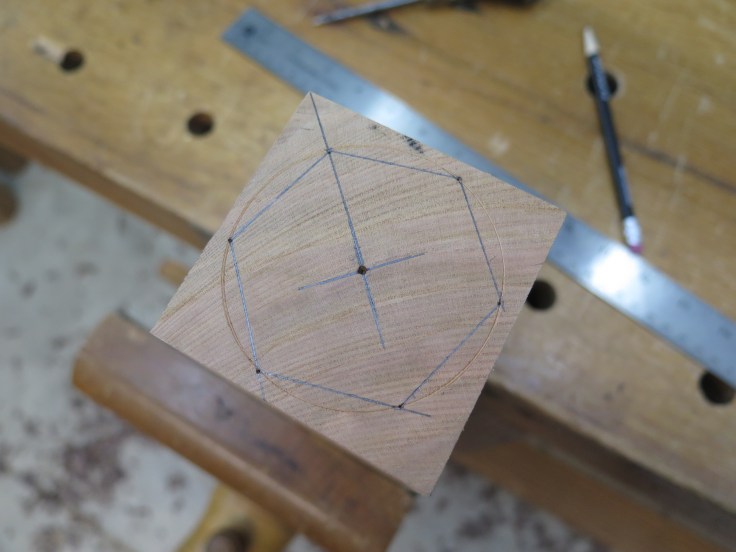
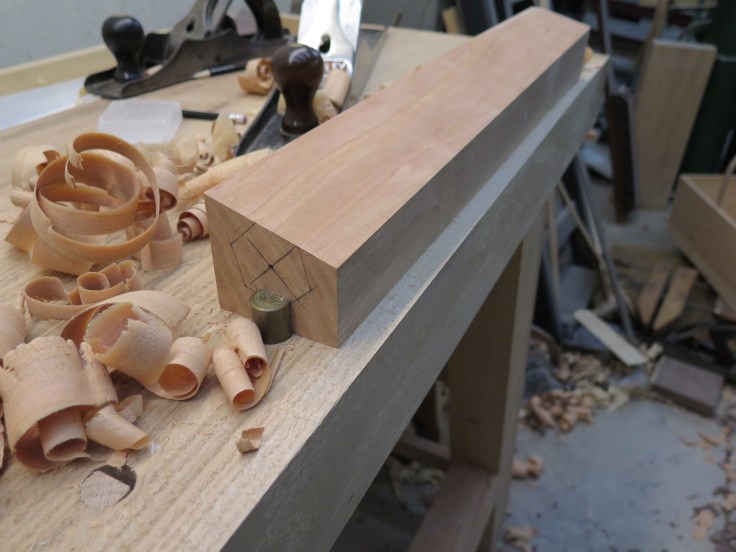
This is the large end of the post. Start by finding the center and scribe a circle the diameter you want the hexagon to be across the points. Make a start line from the center to one corner of the blank and pace six steps around the circle. When you layout the hexagon on the opposite end make a start line is on the same corner of the blank. This aligns the hexagons on either end.Connect the dots with a straight edge. The layout on the other end is identical except with a smaller diameter circle that creates the taper.Start with a jack plane and hog of most of the waste and finish with a jointer. (view from the small end of the post)Once the first side is complete, flip the blank over and plane down the facet on the opposite side.Finishing up the third and fourth facets.In the short rows now; hogging of the waste from the last facet with the jack.The completed post.
There are several ways to speed up the process even more. A hatchet or draw knife would work well for roughing in the facets and reduce the amount of jack plane work. Another method I have thought about but not tried yet, after the layout is complete, chuck it up in a lathe, turn the blank to a rough cone and then handplane in the facets.


Good work. I’ll be giving this candle stand a go, too … as soon as I pick up some 8/4 cherry!
LikeLike